
🔥 Ever wondered how to score epic Australian landscapes without breaking the bank? I’ve spent five years chasing light across this sprawling continent, and I’m here to show you how to capture it all on a shoestring!
🤔 What to Expect on a Budget Photo Safari
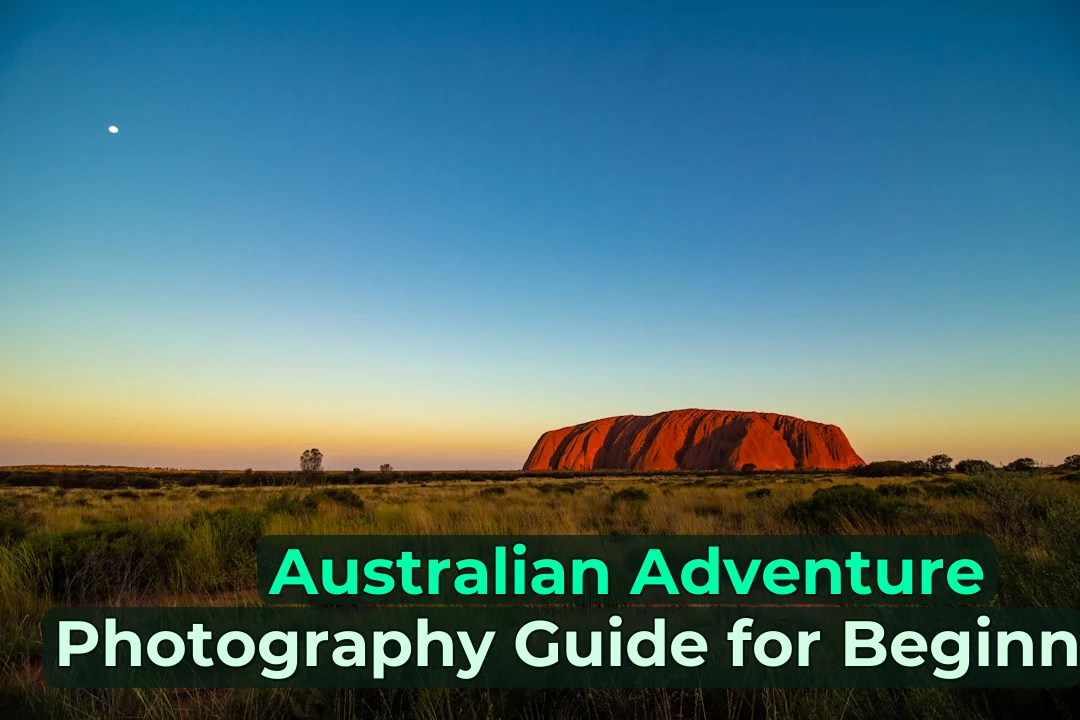
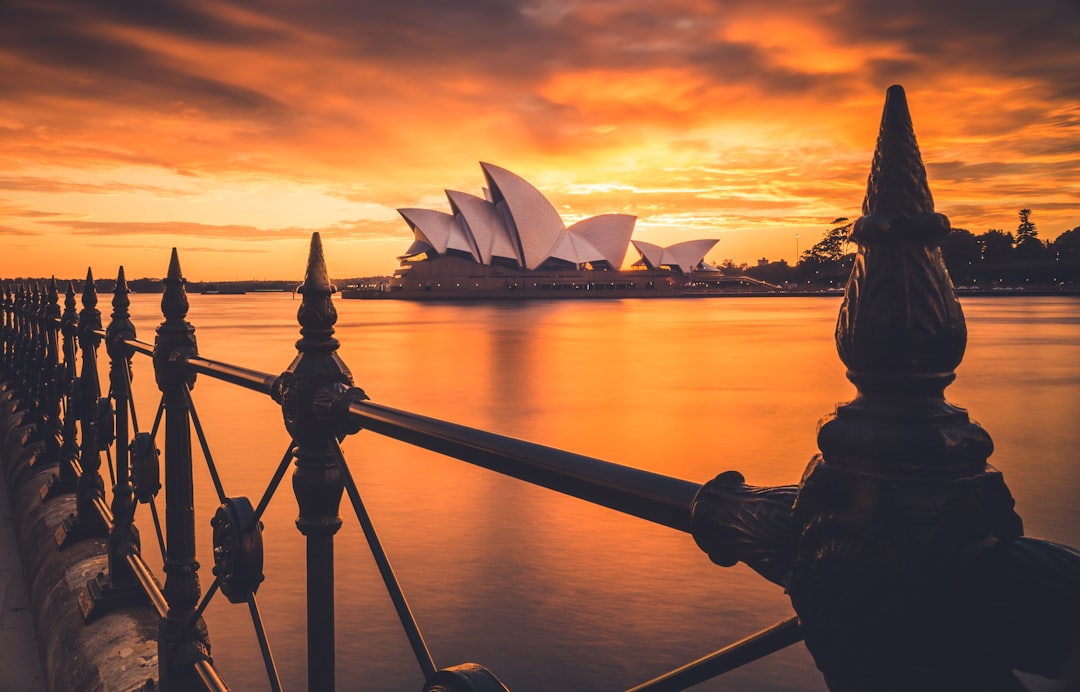
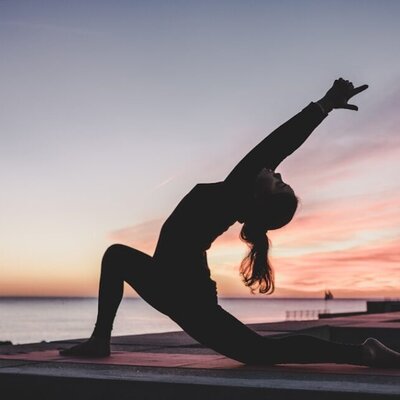
Listen, mate, you don’t need a fancy DSLR or a five-figure lens kit to get stunning shots of our backyard. Australia is basically a giant, free studio! The key is knowing when the light hits just right—think golden hour at the beach or that moody blue tint during ‘the blues’ (that magical time just after sunset). You’ll be amazed at what your phone camera can do if you’re patient and play with angles. It’s not about the gear; it’s about seeing the world differently!
✅ Must-Have Gear (That Won’t Cost a Fortune)
Start with what you’ve got! A modern smartphone is honestly powerful enough for 90% of our landscapes. If you’re keen to step up, grab a cheap tripod from Kmart or Target—they work wonders for long exposures at night. A polarising filter (polarizer) can be bought second-hand and makes skies pop like crazy. Skip the expensive lens hoods; your hands work just fine! Most importantly, bring a cloth to wipe down the lens—our dusty outback air can cloud your shots fast.
📋 Step-by-Step: Capturing the Aussie Vibe
First, scout your location using free apps like PhotoPills to find sunrise/sunset times. Pack a light breakfast and hit the trail early—this saves on cafe costs too! Look for leading lines: rocks, beaches, or tree trunks that draw the eye. For macro shots of native flowers like the Waratah, get low to the ground! Don’t forget to capture the ‘big picture’—wide shots of the Blue Mountains or coastal cliffs. Finally, edit sparingly! Apps like Lightroom Mobile (free version) are heaps good for boosting contrast without making it look fake.
❌ Mistakes to Avoid (Save Your Cash & Sanity)
Don’t buy gear you’ll only use once! Renting a drone for a day trip is way cheaper than buying one. Avoid shooting at midday when the sun is directly overhead—it creates harsh shadows and bleaches out colours. And please, don’t ignore the rules! Always check signage at national parks; some areas restrict commercial photography or require permits. Finally, don’t forget your water bottle—hydration is key in our heat, and dehydration ruins photos faster than a dead battery.
💪 You’ve Got This!
Here’s the truth: some of my best shots came from a borrowed phone or a cheap point-and-shoot. It’s about the story, not the specs. Australia offers free entry to most national parks (though some small fees apply for large groups) and countless public beaches. Embrace the imperfections—the heat haze, the dust, the unpredictable weather. That’s what makes it authentic! Start small, practice daily, and you’ll be capturing memories that last a lifetime without emptying your wallet.
📋 Practical Info
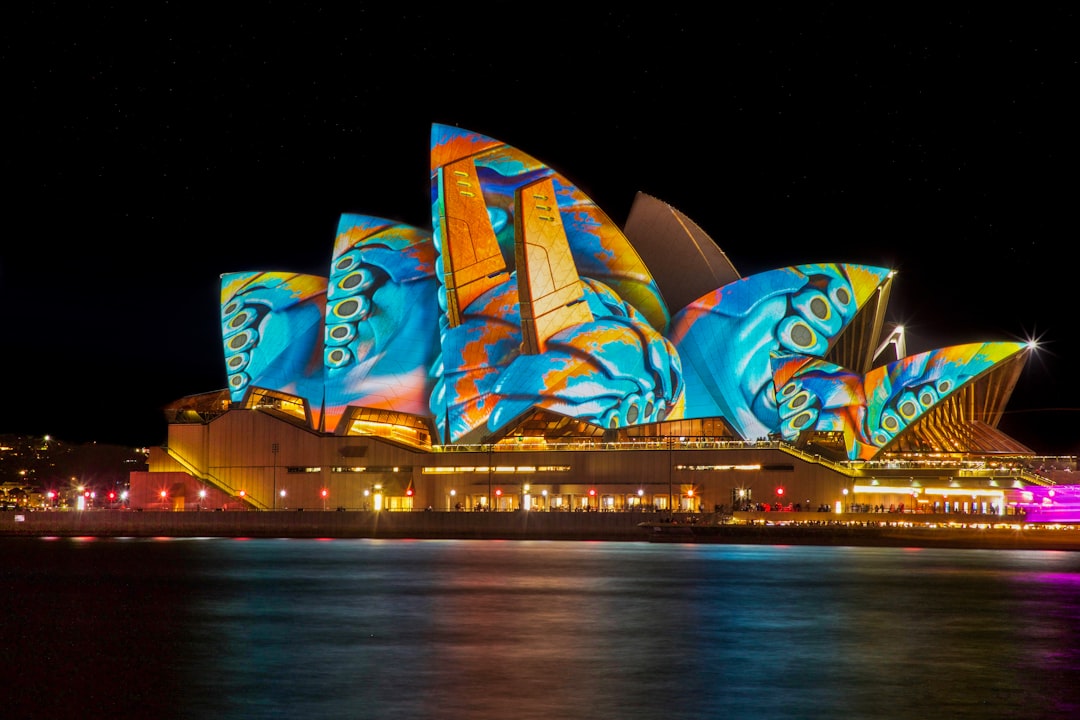
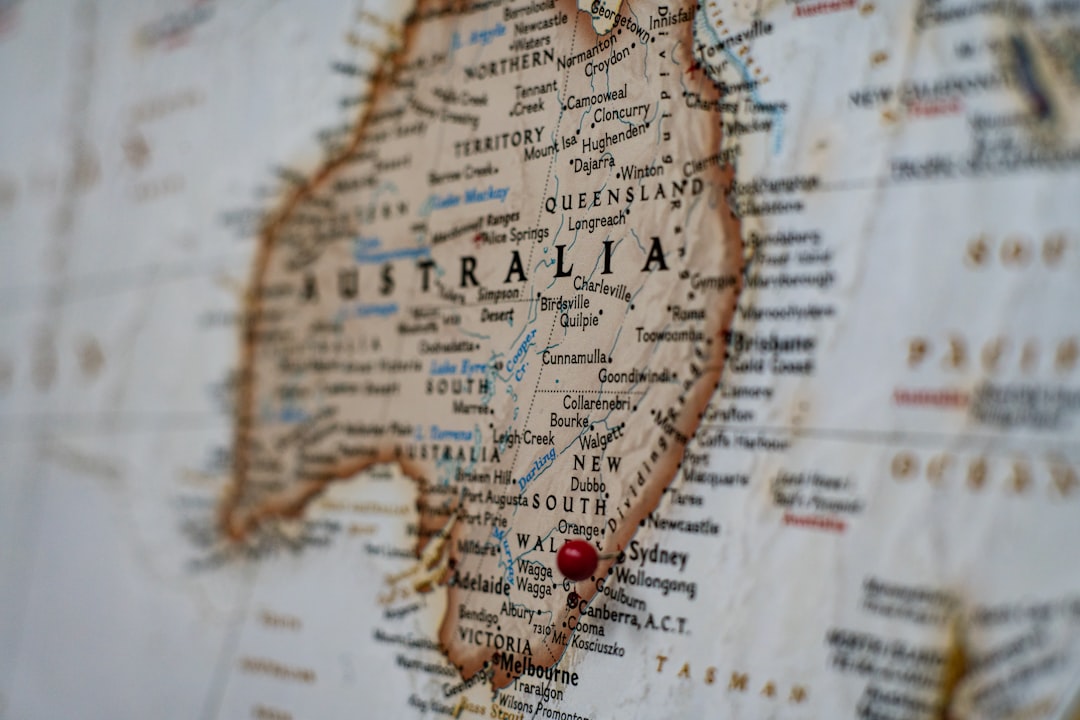
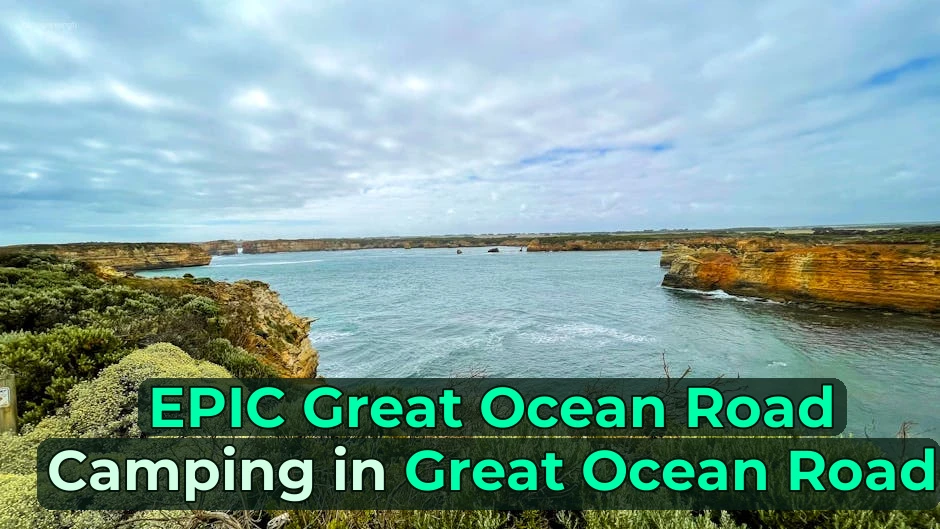
📍 Various locations across Australia (e.g., Bondi Beach, Sydney NSW 2026; Great Ocean Road, Victoria)
🚗 From Sydney CBD, 15 mins to Bondi Beach by bus; 4 hours to Great Ocean Road by car
💰 $0 – $20 (Most locations free; optional park entry fees)
🕐 Golden Hour: 6am-8am or 5pm-7pm (seasonal)
⏱️ Half-day excursions recommended
💡 Tips & Warnings
✅ Always check the weather and tide tables before heading out—high tide can make coastal shots look magical!
❌ Don’t trust the camera’s auto mode for sunrise/sunset; switch to manual or ‘Pro’ mode to control exposure.
⚠️ Watch out for sneaky sun glare and dust on your lens; keep a microfiber cloth handy!
🚀 First-timers, drop your questions below! 🚀
#AustraliaOnABudget #BeginnerPhotography #SydneyOutdoors #TravelTips #FreeAustralia


Be the First to Comment
Sign in to start the conversation.