
Want to Master Blue Mountains Photography? Here’s Exactly How I Did It! 📸
🔥 G’day! If you’ve ever looked at those epic Blue Mountains shots and thought ‘I wanna do that!’, you’re in the right place. After 5+ years of chasing light around these cliffs, I’m gonna spill all my secrets for getting those banger shots!
🎒 What You’ll Need
Right then, let’s get your kit sorted! You don’t need thousands of dollars worth of gear, trust me. I started with a basic DSLR and still got some ripper shots. Here’s the essentials:
✅ Camera (DSLR or mirrorless is ideal, but phone cameras can work too)
✅ Wide-angle lens (16-35mm for those epic landscapes)
✅ Tripod (bloody crucial for sunrise/sunset shots)
✅ Polarising filter (cuts glare on those eucalyptus leaves)
✅ Extra batteries (cold weather drains ’em fast)
✅ Lens cloth (mist is constant up there)
Pro tip: If you’re just starting, your iPhone’s portrait mode can actually nail some decent shots while you learn the ropes!
1️⃣ Scout Your Locations Like a Pro
Don’t just rock up and hope for the best! I learnt this the hard way. Use Google Earth and Instagram to research spots beforehand. My go-to method:
– Check hashtags #bluemountains #visitnsw for recent shots
– Use PhotoPillar or Sun Surveyor to plan sun positions
– Arrive 45 minutes before golden hour (that’s sunrise or sunset)
– Have 2-3 backup spots ready (weather changes bloody quick)
Last weekend I was at Govetts Leap and the fog rolled in so thick I couldn’t see a thing. Luckily I knew about a nearby spot called Evans Lookout that was above the cloud line – saved the entire shoot!
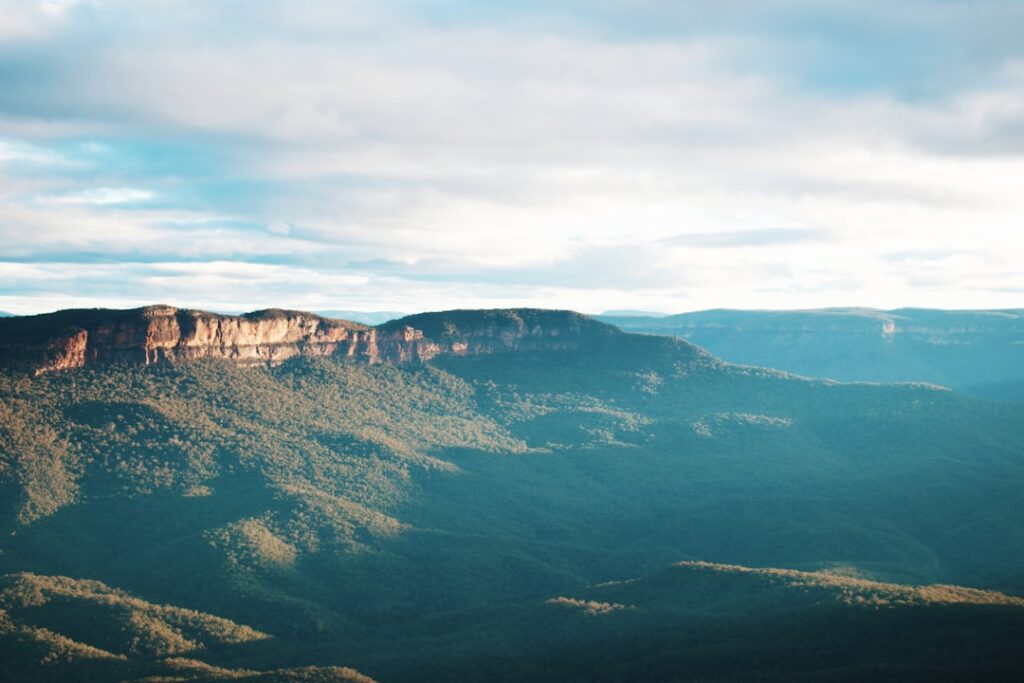
2️⃣ Nail Those Epic Sunrise Shots
Alright, this is where the magic happens! The Blue Mountains is famous for that morning mist rolling through the valleys. Here’s my exact routine:
1. Set your alarm for 90 minutes before sunrise
2. Get to your lookout while it’s still dark (trust me on this)
3. Use your phone’s flashlight to check for safe spots
4. Set up tripod low to the ground for dramatic foregrounds
5. Shoot in RAW format (you’ll thank me later)
6. Expose for the brightest part of the sky, not the shadows
My favourite sunrise spot? Sublime Point Lookout. You get this insane view over the Jamison Valley, and when the fog lifts… it’s pure gold, mate!
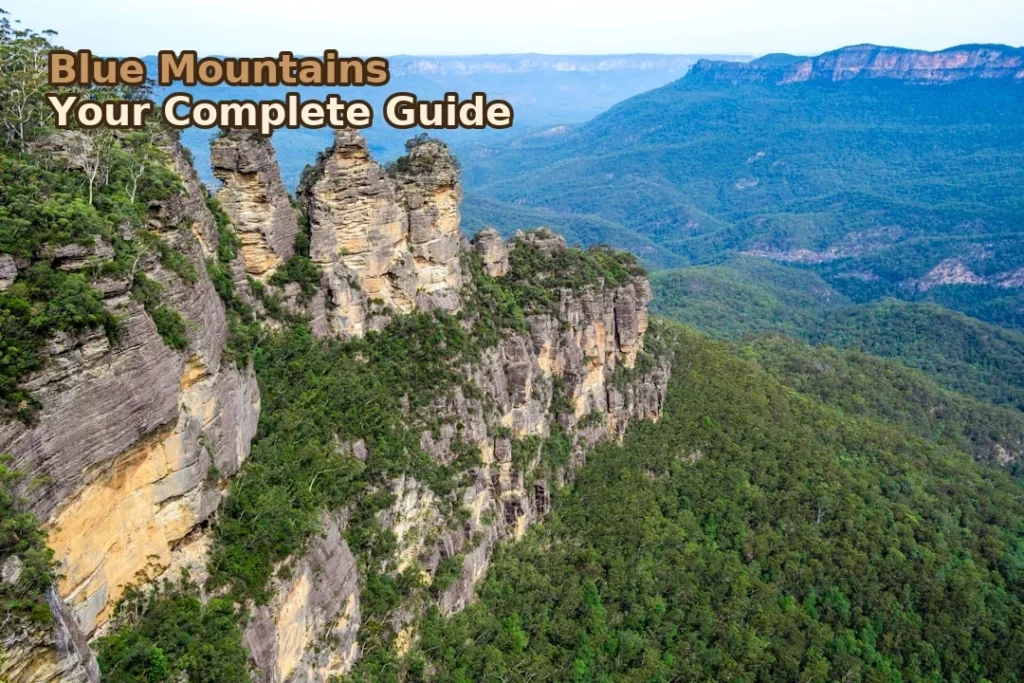
3️⃣ Master the Three Sisters at Golden Hour
Everyone shoots the Three Sisters, but most do it wrong! Here’s how to get shots that’ll make your mates jealous:
– Skip midday (harsh light = flat photos)
– Hit it 30 minutes before sunset or after sunrise
– Walk down the Giant Stairway for unique angles (it’s steep but worth it)
– Use a long exposure (1-2 seconds) to smooth the clouds
– Include people for scale (makes the cliffs look massive)
I got my best Sisters shot last winter from the Olgas lookout. Bloody freezing, but that blue hour light hitting the sandstone was something else!
4️⃣ Chase Waterfalls Like a Boss
The Mountains has heaps of waterfalls, and they’re gold for photographers. My technique:
– Go after rain (obviously, but worth saying)
– Use a slow shutter (1/2 to 2 seconds) for that silky water effect
– Bring a microfibre cloth (your lens will fog up instantly)
– Try different angles – get low, get behind, get creative
– Wentworth Falls is classic, but check out Katoomba Falls for fewer crowds
Best time? Late arvo when the light filters through the trees. Last month I spent three hours at Leura Cascades and barely saw another person – pure magic!
5️⃣ Edit Your Shots Like a Local
Look, editing is where good shots become great ones. You don’t need expensive software either:
– Start with Adobe Lightroom Mobile (free version works fine)
– Boost the shadows and pull back highlights
– Add a bit of clarity to make those cliffs pop
– Warm up the temperature slightly (Mountains light can be cool)
– Don’t overdo the saturation – keep it natural
My secret weapon? A subtle vignette to draw attention to your main subject. And always shoot in RAW if you can – gives you way more flexibility when you’re tweaking things later!
📋 Practical Info
📍 Blue Mountains National Park, NSW 2787
🚗 From Sydney CBD, 2 hours by car via M4 and Great Western Highway, or 2 hours by train to Katoomba Station
💰 National Park entry: $12 per vehicle per day | Photography locations: Free | Budget tip: Many spots accessible by public transport
🕐 Best photography: Sunrise (5:30-7:30 AM depending on season) and Sunset (5:30-7:30 PM) | Lookouts open 24/7
⏱️ Full day recommended for multiple locations, or 3-4 hours per major spot
💡 Tips & Warnings
✅ Download offline maps before you go – phone reception is sketchy in the valleys
✅ Pack snacks and water – there’s nothing out at the remote lookouts
❌ Don’t ignore safety barriers – those cliffs are seriously dangerous
⚠️ Weather changes bloody fast up there – always check the forecast and bring wet weather gear
🚀 Give it a crack and let me know how you go! 🚀 Tag me in your shots – I’d love to see what you capture!
#bluemountains #australianlandscape #naturephotography #visitnsw #bluemountainsphotography #sydneyphotos #outdooradventure #australiagram #landscapephotography #sunrisephotography
Be the First to Comment
Sign in to start the conversation.